Clear Redis RBAC Cache
rConfig Vector – Upgrade V8 Pro to Vector Server
8 mins
Vector
Terminal window
Introduction
Section titled “Introduction”rConfig Vector Server is an enhanced version of rConfig V8 Pro, offering advanced features and capabilities for managing network configurations and devices. Upgrading from V8 Pro to Vector Server provides access to new functionalities, improved performance, and enhanced security features. The process to upgrade from V8 Pro to Vector Server is straightforward and involves acquiring a new license, running an in place upgrade, and configuring the Vector Server to work with your existing agents.
Upgrading to the Vector Server by OS Type
Section titled “Upgrading to the Vector Server by OS Type”Steps to Upgrade rConfig V8 Pro to Vector Server
-
Login to the server using SSH, and change to root user
Terminal window ssh user@your-server-ip -
Change to the rConfig application directory
Terminal window cd /var/www/html/rconfig8/ -
Download the latest deployment script. This script will only work if you have the correct license key as assigned by support.
Terminal window cd /var/www/html/rconfig8/wget https://dl.rconfig.com/downloads/rconfig8-vector-deploy.sh -O rconfig8-vector-deploy.shchmod +x rconfig8-vector-deploy.sh -
Run the deployment script Replace
<someCode>with your API token.Terminal window ./rconfig8-vector-deploy.sh --mode=deploy --apitoken=<someCode> -
Verify the upgrade
- Once the upgrade script completes, update any legacy paths in the database that refer to
rconfig5,rconfig6, orrconfig7directories:Terminal window cd /var/www/html/rconfig8/currentphp artisan rconfig:updatedb8 - Check the version of rConfig to ensure it reflects the Vector Server update.
- Navigate to the Agents menu under Settings.
- When adding or editing a device, confirm that the Agent option is available.
- Verify that the top left logo has changed to the Vector logo.
- Once the upgrade script completes, update any legacy paths in the database that refer to
That’s it! 🎉 You’ve successfully upgraded to the Vector Server on CentOS, Rocky, RHEL, Alma, and AWS.
Steps to Upgrade rConfig V8 Pro to Vector Server
-
Login to the server using SSH, and change to root user
Terminal window ssh user@your-server-ip -
Change to the rConfig application directory
Terminal window cd /var/www/html/rconfig8/ -
Download the latest deployment script. This script will only work if you have the correct license key as assigned by support.
Terminal window cd /var/www/html/rconfig8/sudo wget https://dl.rconfig.com/downloads/rconfig8-vector-deploy-ubuntu.sh -O rconfig8-vector-deploy-ubuntu.shsudo chmod +x rconfig8-vector-deploy-ubuntu.sh -
Run the deployment script Replace
<someCode>with your API token.Terminal window sudo ./rconfig8-vector-deploy-ubuntu.sh --mode=deploy --apitoken=yourApiToken -
Verify the upgrade
- Once the upgrade script completes, update any legacy paths in the database that refer to
rconfig5,rconfig6, orrconfig7directories:
Terminal window cd /var/www/html/rconfig8/currentphp artisan rconfig:updatedb8- Check the version of rConfig to ensure it reflects the Vector Server update.
- Navigate to the Agents menu under Settings.
- When adding or editing a device, confirm that the Agent option is available.
- Verify that the top left logo has changed to the Vector logo.
- Once the upgrade script completes, update any legacy paths in the database that refer to
That’s it! 🎉 You’ve successfully upgraded to the Vector Server on Ubuntu.
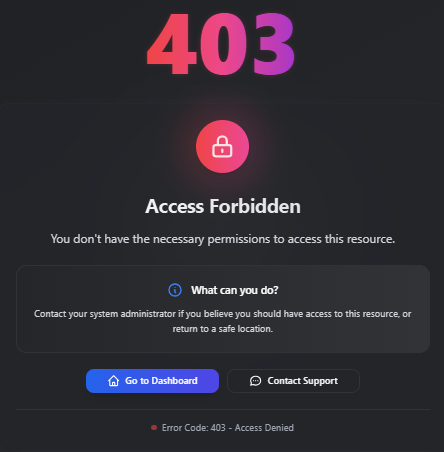
403 Access Forbidden Error after update
Section titled “403 Access Forbidden Error after update”If you encounter an 403 Access Forbidden error after updating to Vector Server, you may need to clear out some cached RBAC related data.
The error may look like this when opening the Settings > Agents page for example:
To do this, run the following command:
#This error is typically caused by cached data from the previous version of rConfig.
redis-cliselect 1keys *del KEYNAME #(anything with permisssions in it)
exitcd /var/www/html/rconfig8/current && php artisan rconfig:clear-all
Heres a video example of the process: