
LibreNMS Device Sync


LibreNMS Device Sync
Section titled “LibreNMS Device Sync”From V8.4.2, rConfig can import devices from LibreNMS through its REST API (v0). Each LibreNMS device becomes an rConfig device with the right template, credentials and category, and stays in step with LibreNMS on a schedule. The setup follows the same model as the Statseeker V2 setup; only the Setup tab fields and the way devices get their profile are different.
| Platform | rConfig V8 Support | Auth supported | V2 Status |
|---|---|---|---|
| LibreNMS | V8.4.2+ | API token (X-Auth-Token) |
Lab tested |
Mental Model: End Goal First
Section titled “Mental Model: End Goal First”The point of setting up a V2 integration is to land in a steady state where rConfig’s device inventory is continuously reconciled against LibreNMS on a schedule, with no operator in the loop. That end state looks like this:
A Scheduled Task of type Integration V2 Job runs the LibreNMS instance in Apply mode on a cron, for example nightly. It runs the same six-stage pipeline you’ll run interactively in this guide, writes any
createandupdatedecisions to rConfig, leaves any conflicts or ambiguous matches in Problem Devices for review, and notifies you on completion.
To get there, you walk a one-time setup and a sanity-check loop:
- Create the integration instance: LibreNMS connectivity and API token in the Setup tab. Validate with Test Connection.
- Set up the Device Profiles the synced devices will inherit from, under Inventory → Device Profiles.
- Create device groups in LibreNMS named
rconfig::device_profile::<slug>, so each device knows which profile to use. - Run an Extract Preview to confirm the filters return the right LibreNMS devices.
- Run a Sync Preview to walk the full pipeline (canonicalize → reconcile → decide) without writing.
- Run a Full Sync (Apply) once the preview’s decisions look right.
- Schedule the integration to run on a cron from the rConfig scheduler.
%%{init: {'themeVariables': {'fontSize': '60px'}}}%%
flowchart LR
    A[Create instance<br/>Setup tab] --> B[Test Connection]
    B --> C[Device Profiles<br/>Inventory]
    C --> D[Extract Preview]
    D --> E[Sync Preview]
    E --> F[Full Sync · Apply]
    F --> G[Scheduled Task<br/>recurring sync]

  classDef step font-size:60px,stroke-width:2px;
  class A,B,C,D,E,F,G step;
Prerequisites
Section titled “Prerequisites”LibreNMS:
- LibreNMS with the v0 API, which every current release has. The driver was built and tested against 26.10.
- A dedicated LibreNMS user with the global-read role, and an API token for that user.
- Network access from rConfig to the LibreNMS web UI (the API is served on the same address and port).
rConfig V8.4.2+:
- Administrator access.
- At least one Device Profile for the kinds of device you will import.
Create the service user and token
Section titled “Create the service user and token”Create the user and token in the LibreNMS web UI (Settings → API → API Settings), or from the LibreNMS server:
# Read-only service user for rConfiglnms user:add rconfig --role=global-read
# Token for that user. Copy it now: LibreNMS shows it only once.lnms api:token-create rconfig --name="rConfig device sync"Step 1: Create the Integration Instance (Setup Tab)
Section titled “Step 1: Create the Integration Instance (Setup Tab)”1.1 Open the V2 driver picker
Section titled “1.1 Open the V2 driver picker”Navigate to Platform → Integrations. Scroll to the Device Sync section and click + Add Driver under V2 Drivers. The picker shows every V2 driver split into Configured Drivers and Not Configured Yet.
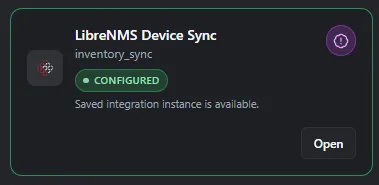
Each card carries the driver’s verification badge (Lab tested for LibreNMS), plus a link to its docs page. Click the LibreNMS card.
1.2 Fill in the Setup tab
Section titled “1.2 Fill in the Setup tab”The driver picker drops you straight into the instance Detail page on the Setup tab.
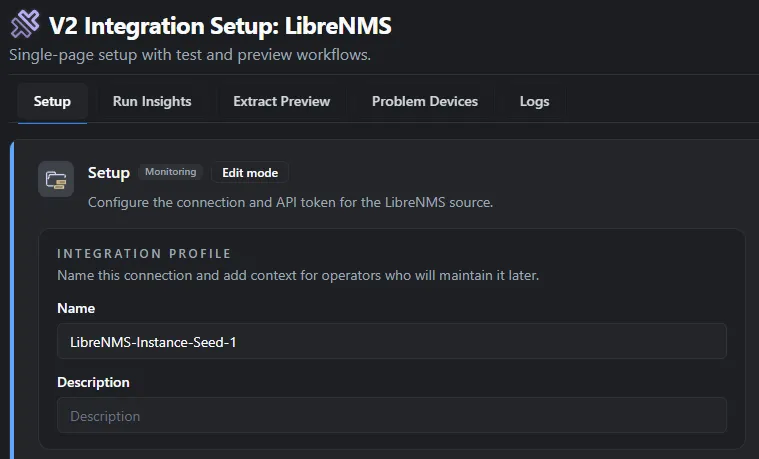 LibreNMS Setup tab with Connectivity and Authentication sections expanded
Connectivity
| Field | Default | Notes |
|---|---|---|
| Base URL | required | Root URL of the LibreNMS web UI, for example https://librenms.example.com. rConfig adds /api/v0 itself. A URL that already ends in /api/v0 also works. |
| Timeout (Seconds) | 120 |
LibreNMS returns every device in one response, so large installs need a longer timeout. Range 1 to 600. |
| Verify TLS Peer | on |
Leave on in production. |
| Verify TLS Hostname | on |
Leave on in production. |
| Include Disabled Devices | off |
When off, devices disabled in LibreNMS are skipped. Ignored devices (alerting turned off) are always included. |
| Import Device Groups as Tags | off |
When on, LibreNMS device group names become rConfig tags on Apply. |
Authentication
| Field | Notes |
|---|---|
| API Token | The token from the service user. rConfig sends it as X-Auth-Token. |
1.3 Test the connection
Section titled “1.3 Test the connection”Click Test Connection in the action bar at the top of the page.
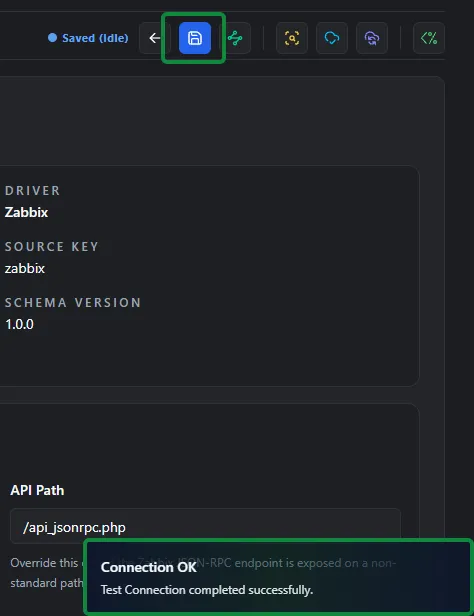 Setup tab after a successful Test Connection. Shown with the Zabbix driver. The LibreNMS screen is the same.
rConfig calls /api/v0/ping, then /api/v0/system, and shows the LibreNMS version on success, for example Connection successful (LibreNMS 26.10.2). Common failures:
| What you see | Most likely fix |
|---|---|
rejected the API token (HTTP 401) |
The token is wrong, has expired, or its user is disabled. Create a new token. |
did not return a LibreNMS API response |
The Base URL points somewhere else, for example a login page or proxy. Use the URL of the LibreNMS web UI. |
| Connection refused or timeout | Firewall, wrong port, or LibreNMS is down. |
SSL or certificate error |
Self-signed certificate. Turn off Verify TLS Peer / Hostname in a lab only. |
1.4 Save
Section titled “1.4 Save”Click Save. The save indicator in the action bar flips to Saved once persisted.
You now have a working LibreNMS integration instance, but no device has a Device Profile yet. Do not run a preview yet. Move to Step 2.
Step 2: Give Each Device a Device Profile
Section titled “Step 2: Give Each Device a Device Profile”Every imported device needs a Device Profile, which sets its vendor, category, template and credentials. Devices without one go to Problem Devices instead of being created.
2.1 Open the Device Profiles page
Section titled “2.1 Open the Device Profiles page”Navigate to Inventory → Device Profiles.
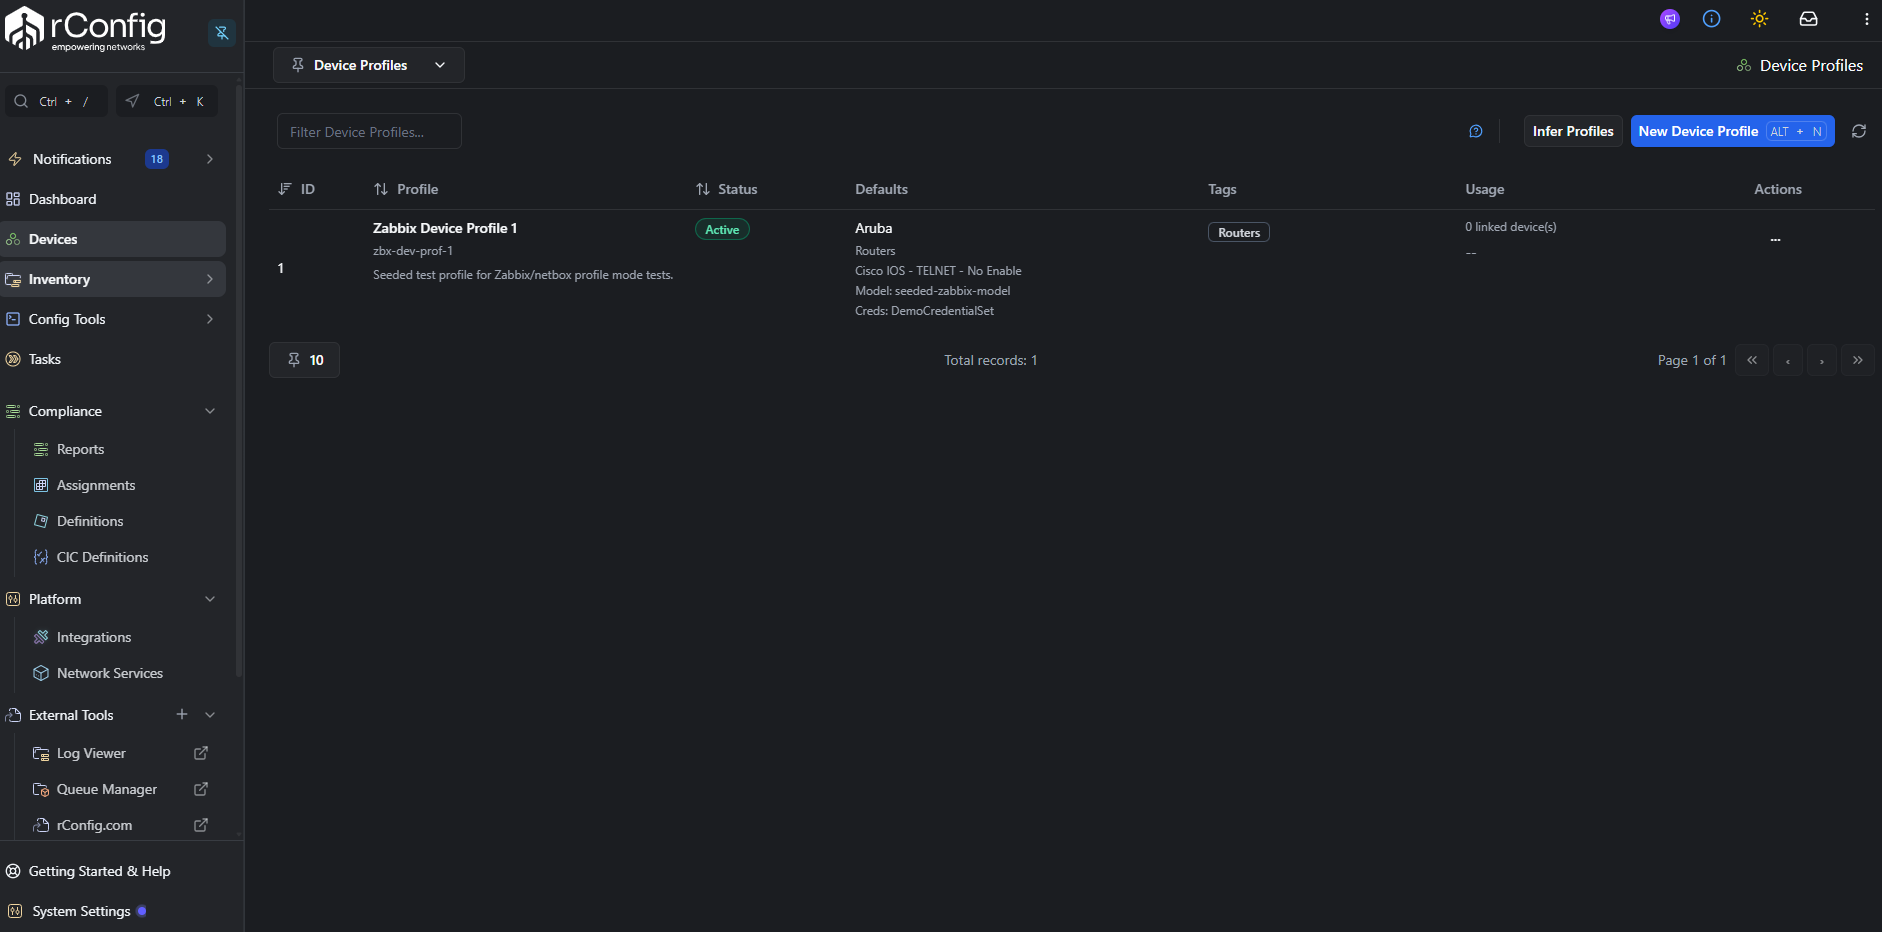
2.2 Create a Device Profile per device class
Section titled “2.2 Create a Device Profile per device class”For each device class you want to sync (for example Cisco IOS Core Routers, Juniper Edge Routers), click New Device Profile and fill in:
- Name: human-readable.
- Slug: the value your LibreNMS device group names will reference.
- Vendor, Category, Template, Credential set: standard rConfig device classification.
- SNMP group, Vector agent, default tags, default model / prompt patterns: optional.
2.3 Create profile device groups in LibreNMS
Section titled “2.3 Create profile device groups in LibreNMS”LibreNMS devices have no free-form tags, so the driver uses device groups. Create one group per profile, named with the rconfig::device_profile:: prefix and the profile slug:
rconfig::device_profile::cisco-ios-corerconfig::device_profile::juniper-junosDynamic groups work well here. A group with the rule os = iosxe puts every IOS-XE device in that profile automatically, including devices added to LibreNMS later.
- The prefix is not case-sensitive, but the slug after it must match the Device Profile slug in rConfig.
- If a device is in more than one profile group, the group whose name sorts first wins.
- Other
rconfig::group names are ignored. Groups without the prefix only matter if Import Device Groups as Tags is on.
Step 3: Filters (Optional)
Section titled “Step 3: Filters (Optional)”The Filters card on the Setup tab limits which devices are imported. Leave every field empty to import all devices.
| Filter | Matches |
|---|---|
| Device Groups | Devices in any of the listed groups, by name (not case-sensitive) or numeric ID. |
| OS | The LibreNMS os value exactly, for example iosxe, nxos, junos. |
| Device Types | The LibreNMS device type, for example network or firewall. |
| Location Contains | Any part of the device’s location text. |
Values in one field are combined with OR, and different fields with AND. The card shows the result in plain words, for example Import devices in device group Core Switches AND with OS iosxe or nxos.
LibreNMS’s API accepts only one filter per request. rConfig sends the most specific one to LibreNMS and checks the rest itself, so you can combine filters freely.
Step 4: Run an Extract Preview
Section titled “Step 4: Run an Extract Preview”Switch to the Extract Preview tab (amber download icon in the action bar).
Extract Preview hits LibreNMS exactly the way a real sync would, but stops the moment the devices come back: no canonicalize, no reconcile, no writes.
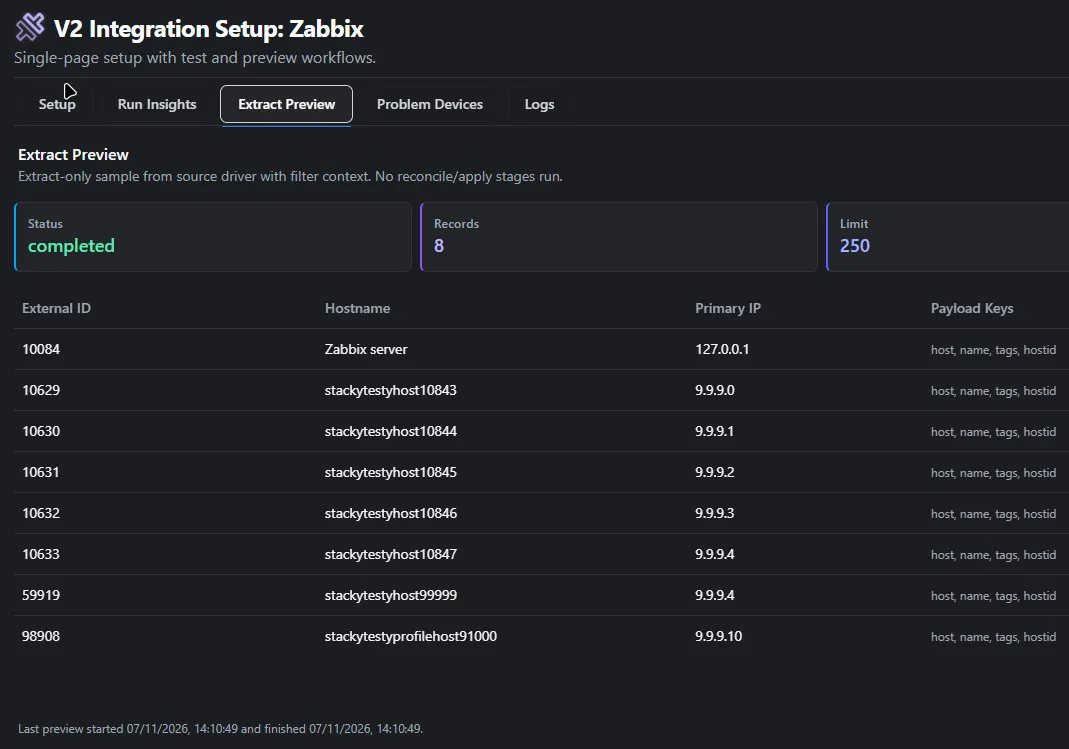 Extract Preview tab with summary cards and result table. Shown with the Zabbix driver. The LibreNMS screen is the same.
Check the hostname and IP columns, and open a row’s Details hover to see the payload. Confirm the groups list contains the expected rconfig::device_profile:: group.
For the full anatomy of this tab, see the Extract Preview Tab reference.
Step 5: Run a Sync Preview
Section titled “Step 5: Run a Sync Preview”Click Preview Sync in the action bar (sky icon). Sync Preview runs the complete pipeline through decide and stops without writing.
Switch to the Run Insights tab to inspect the result.
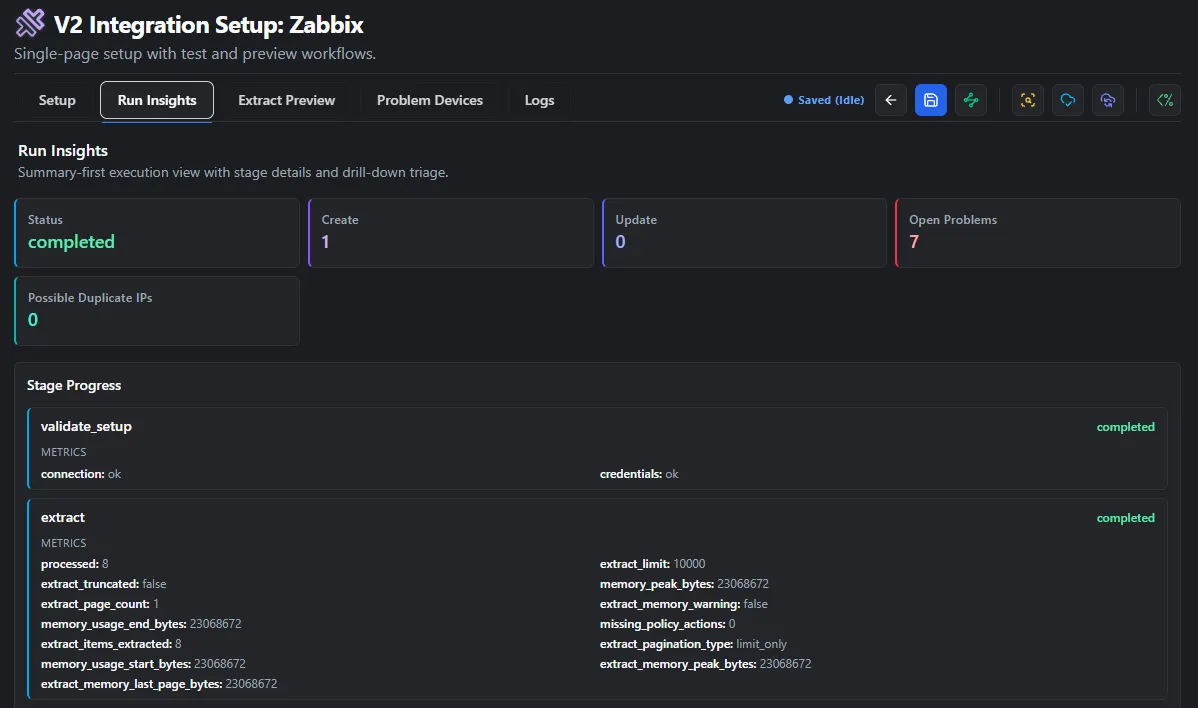 Run Insights tab populated after a Sync Preview. Shown with the Zabbix driver. The LibreNMS screen is the same.
For LibreNMS the most-watched stage metrics are:
extract.items_extracted: should match the Extract Preview count.client_filtered_outanddisabled_skippedin the extract stage: devices dropped by the filters rConfig checks itself, and disabled devices skipped because Include Disabled Devices is off.canonicalize.invalid: a high count usually means devices without a profile group.reconcile.ambiguous: non-zero means more than one rConfig device matches the same LibreNMS device.
If Open Problems is greater than zero, switch to the Problem Devices tab and triage the rows.
For the full anatomy of these tabs, see the Run Insights Tab reference and Problem Devices Tab reference.
Step 6: Run a Full Sync (Apply)
Section titled “Step 6: Run a Full Sync (Apply)”When the Sync Preview decisions look correct and Open Problems is at an acceptable level, click Full Sync in the action bar (indigo icon).
Full Sync re-runs the full pipeline and finishes by executing the apply stage:
- Creates new devices for each
decision = create. - Updates existing devices for each
decision = update. - Assigns the resolved Device Profile to each affected device.
- Adds LibreNMS device group names as tags when Import Device Groups as Tags is on.
- Updates
integration_device_links(first_seen,last_seen). - Schedules an initial configuration backup for newly created devices.
Run Insights tab after a Full Sync. Shown with the Zabbix driver. The LibreNMS screen is the same.
Re-check Problem Devices after Apply: Apply does not auto-resolve ambiguous_match or conflict rows; those still need a human.
On a device imported from LibreNMS, the device page has an Open in LibreNMS button that goes to /device/<device_id> on your LibreNMS server.
Step 7: The Debug Console
Section titled “Step 7: The Debug Console”For any of the runs above, you can swap the action-bar button for the Open Debug Console button (shimmer icon). The Debug Console runs the same Artisan command synchronously and streams its native stdout/stderr into a modal:
 Debug Console modal mid-run. Shown with the Zabbix driver. The LibreNMS screen is the same.
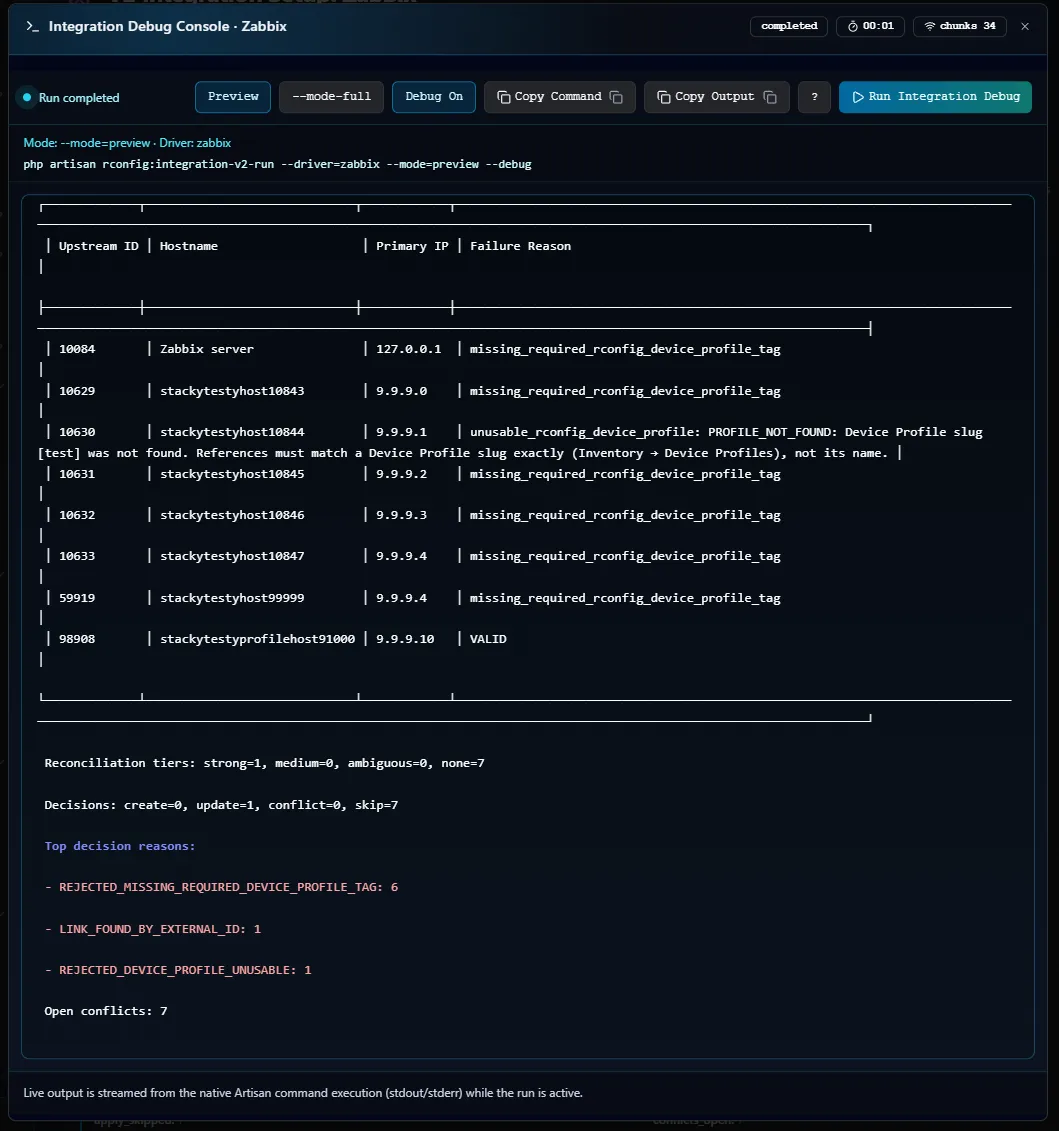 Debug Console modal after a run completes. Shown with the Zabbix driver. The LibreNMS screen is the same.
For the full anatomy of the dialog, see the Debug Console reference.
Step 8: Schedule the Sync
Section titled “Step 8: Schedule the Sync”Once a manual Full Sync completes cleanly, schedule it. Navigate to Tasks and click New Task. Choose task type Integration V2 Job, pick the LibreNMS instance, choose Apply mode, and set the cron schedule.
A common production pattern:
- Hourly Preview: drift detection only, no writes. Surfaces new Problem Devices fast.
- Nightly Apply: commits real changes during the maintenance window.
On large installs, every run fetches the full device list (see Large installs), so keep the schedule no more frequent than you need.
CLI Reference
Section titled “CLI Reference”# Sync Preview (does not write)php artisan rconfig:integration-v2-run --driver=librenms --mode=preview
# Full Sync with debug outputphp artisan rconfig:integration-v2-run --driver=librenms --mode=apply --debug
# Queue an async run by explicit instance IDphp artisan rconfig:integration-v2-run 12 --mode=apply --queueSee the V2 Overview for the full option list.
Driver Reference
Section titled “Driver Reference”Fields the driver reads
Section titled “Fields the driver reads”| rConfig field | LibreNMS field |
|---|---|
| External ID | device_id. Hostnames can be renamed in LibreNMS, so they are never used as the ID. |
| Hostname | hostname. When that is an IP address, sysName is used instead. |
| Primary IP | overwrite_ip, then ip, then hostname if it is an IP address. This is the same order LibreNMS polls in. |
| Model | hardware |
| Serial | serial |
| Vendor | Worked out from os, for example iosxe gives Cisco and junos gives Juniper. Shown in previews only; the device’s vendor comes from its Device Profile. |
| Profile / Tags | Device group membership, as described in Step 2. |
What rConfig never stores
Section titled “What rConfig never stores”LibreNMS 26.10 returns SNMP credentials (community, authpass, cryptopass and related fields) in plain text to any user who can see the device. rConfig removes them before saving anything, so they never appear in the database, previews or debug output.
Reconciliation and missing devices
Section titled “Reconciliation and missing devices”- Strong match: by the LibreNMS
device_idalready linked to this instance. - Medium match: hostname and primary IP both unique in rConfig; sent to Problem Devices for review.
- Missing upstream: the default is
disable_link_only. When a device disappears from LibreNMS, rConfig disables the link but leaves the device.
Large installs
Section titled “Large installs”LibreNMS has no paging on its device list. One request returns every device the token can see, with every field. On installs with thousands of devices, raise Timeout (Seconds), and use a device group filter so each sync fetches less.
Troubleshooting
Section titled “Troubleshooting”- Fewer devices than expected. Check the token’s user has the global-read role. Check Include Disabled Devices. Check the filters, and look at
client_filtered_outanddisabled_skippedin the extract stage metrics on Run Insights. - Devices land in Problem Devices with no profile. The device is not in any
rconfig::device_profile::group, or the slug doesn’t match an active Device Profile. Open Details on the Extract Preview row and check itsgroupslist. - Timeout during extract. Raise Timeout (Seconds), or narrow the sync with a device group filter.
- Device imported with no IP address. LibreNMS fills in
ipwhen it resolves the hostname during discovery. A device added by a DNS name that LibreNMS has never resolved has no IP yet, so rConfig imports it without one and its backups fail. Fix the DNS record, or set Overwrite IP on the device in LibreNMS, then run the sync again. - Reconciliation produces ambiguous matches. Two rConfig devices share the same hostname or primary IP. Resolve in Problem Devices by picking the correct target, or de-duplicate the device list.